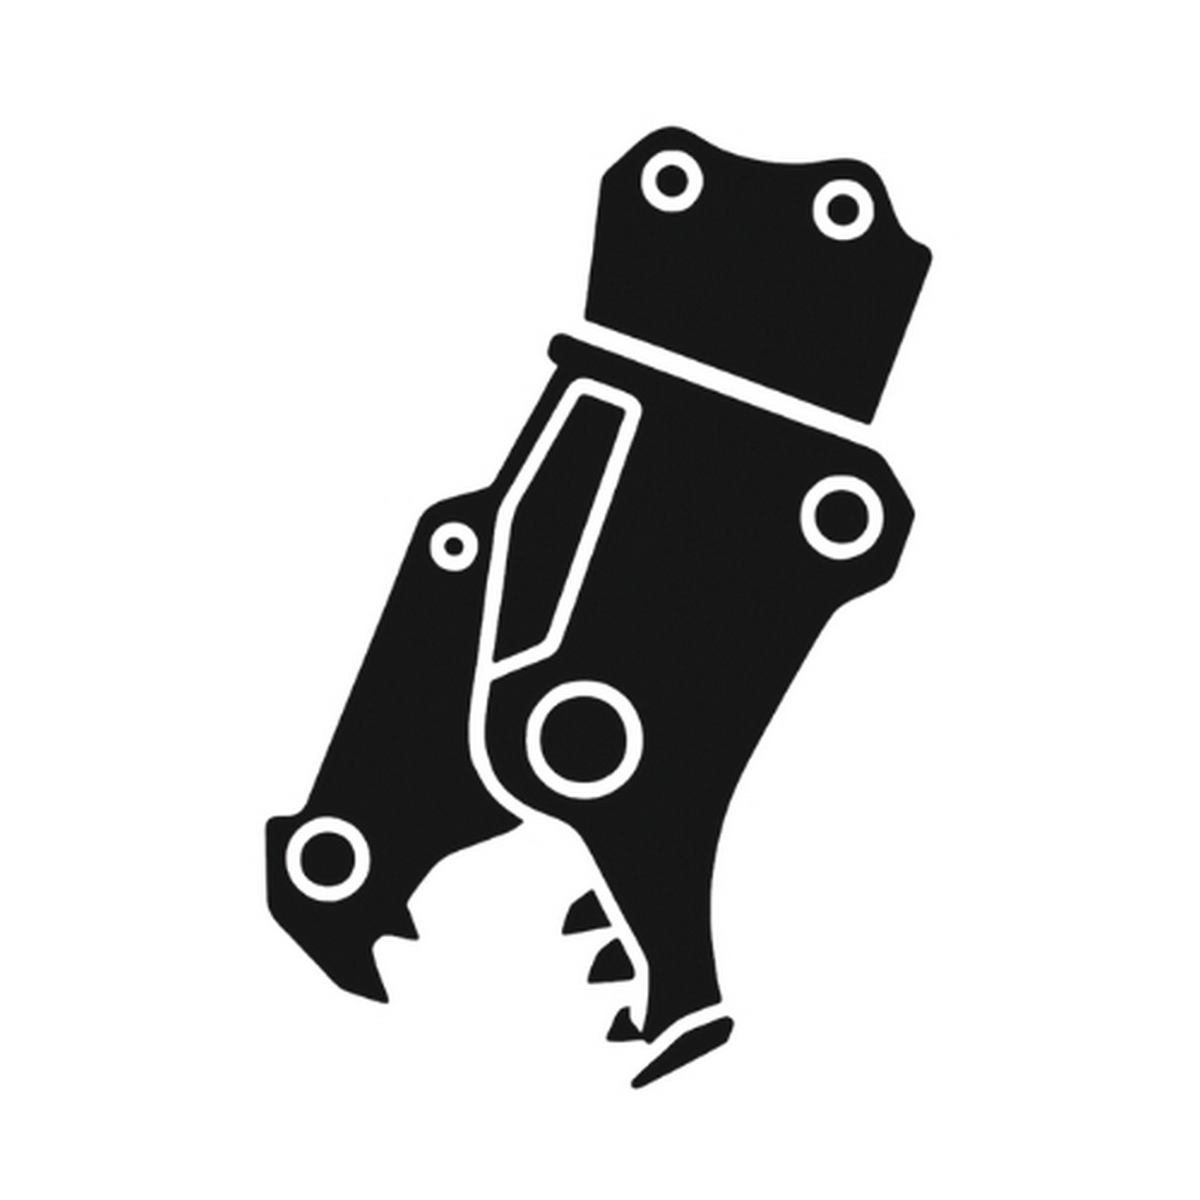
 Shears, demolition jaws for excavators
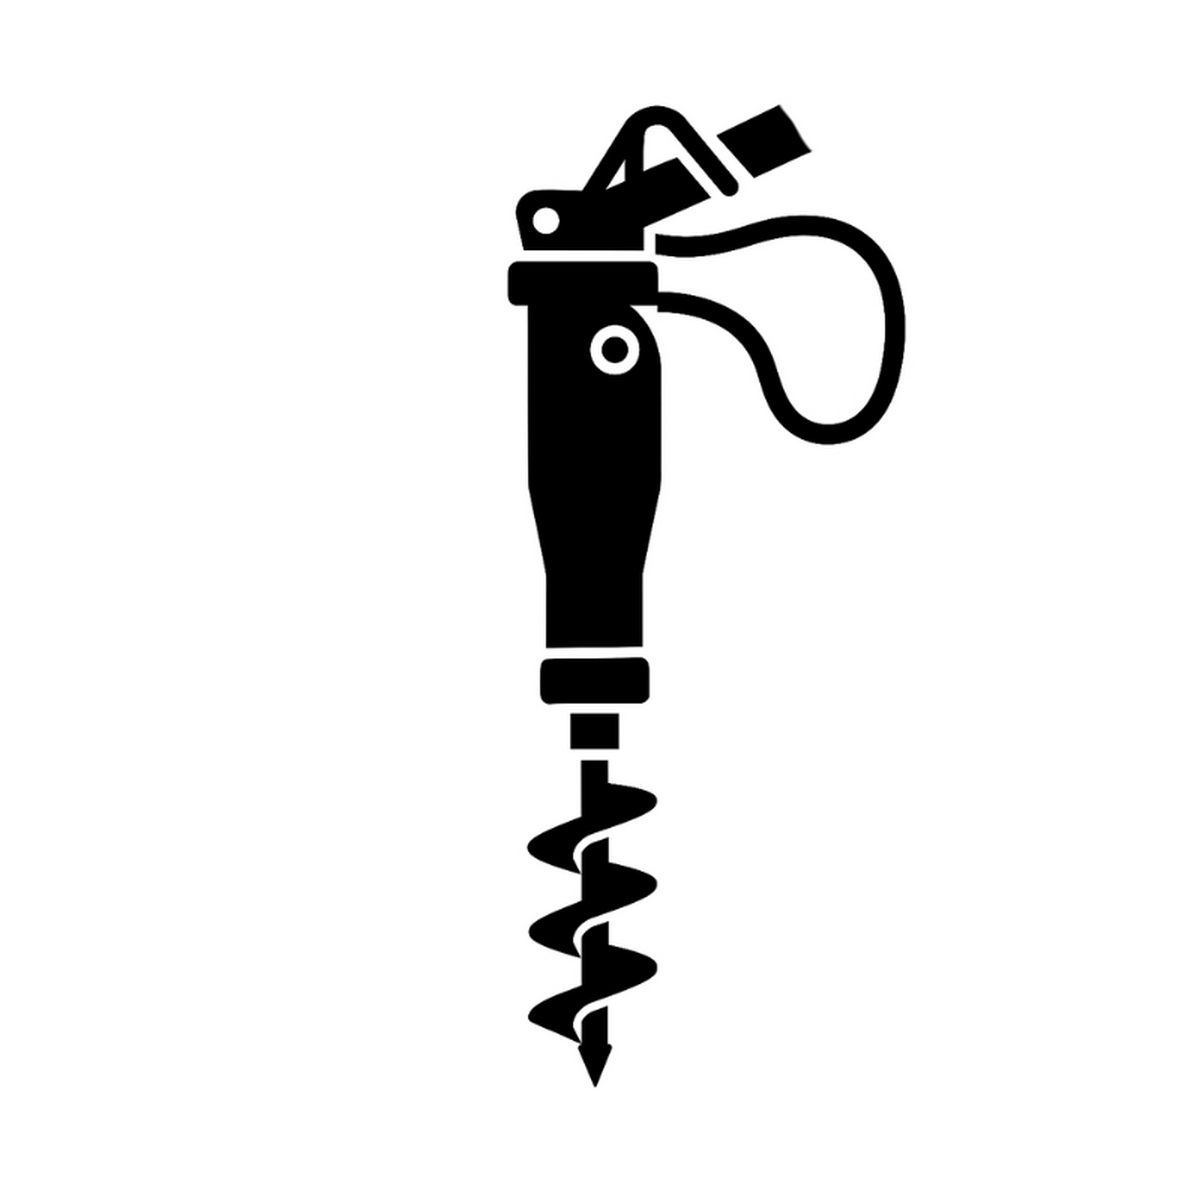 Hydraulic drill rigs
 Hydraulic pile drivers for excavators
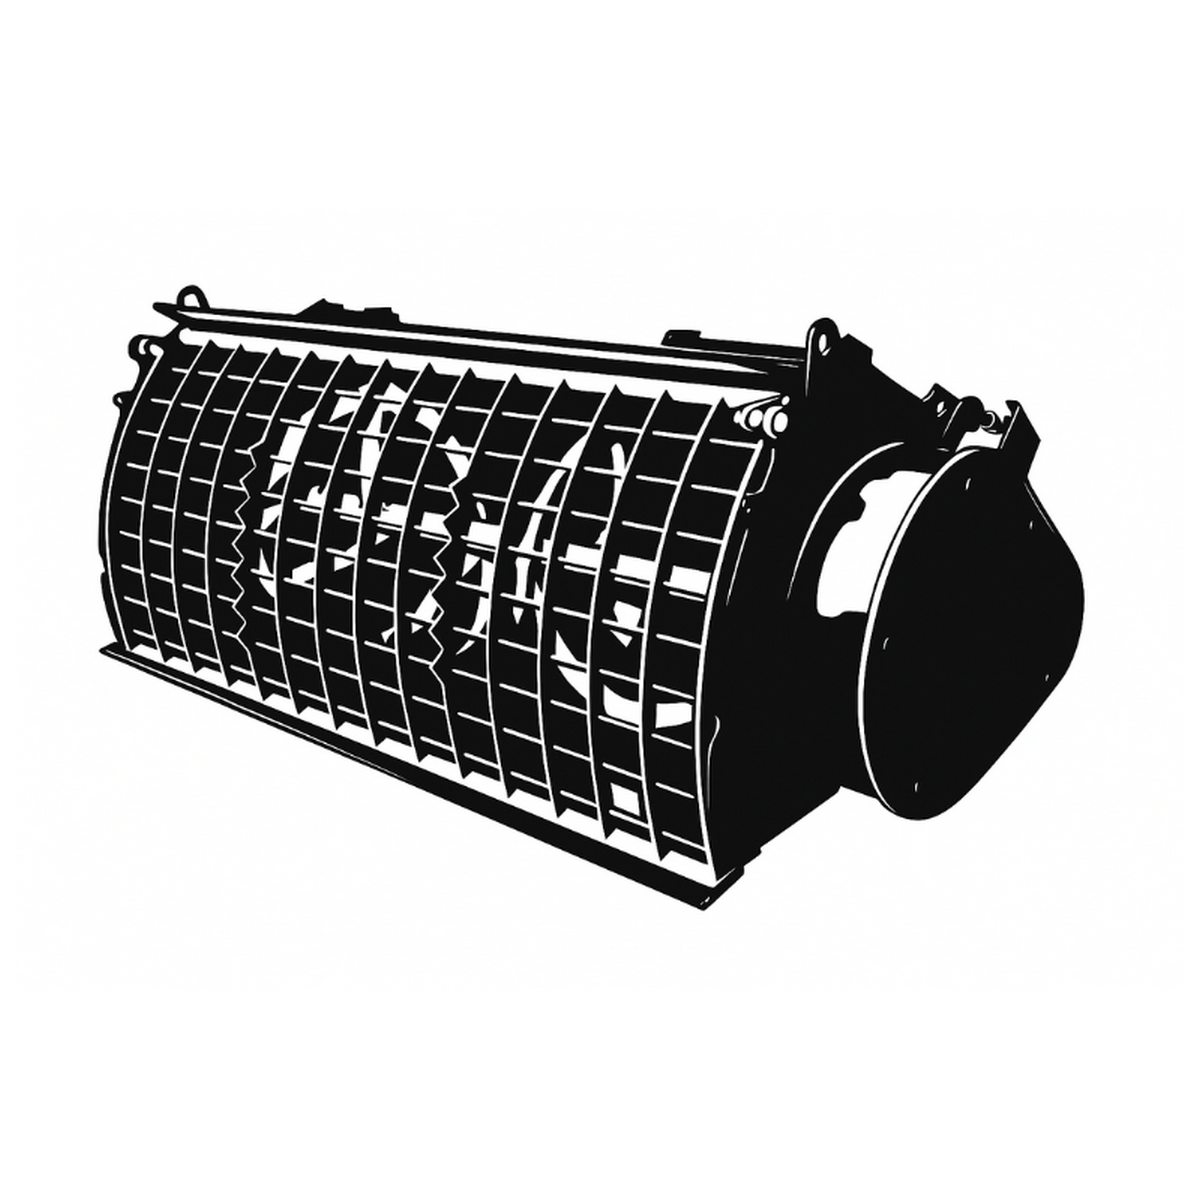
 Screening buckets for excavators
 Hydraulic grapples for excavators
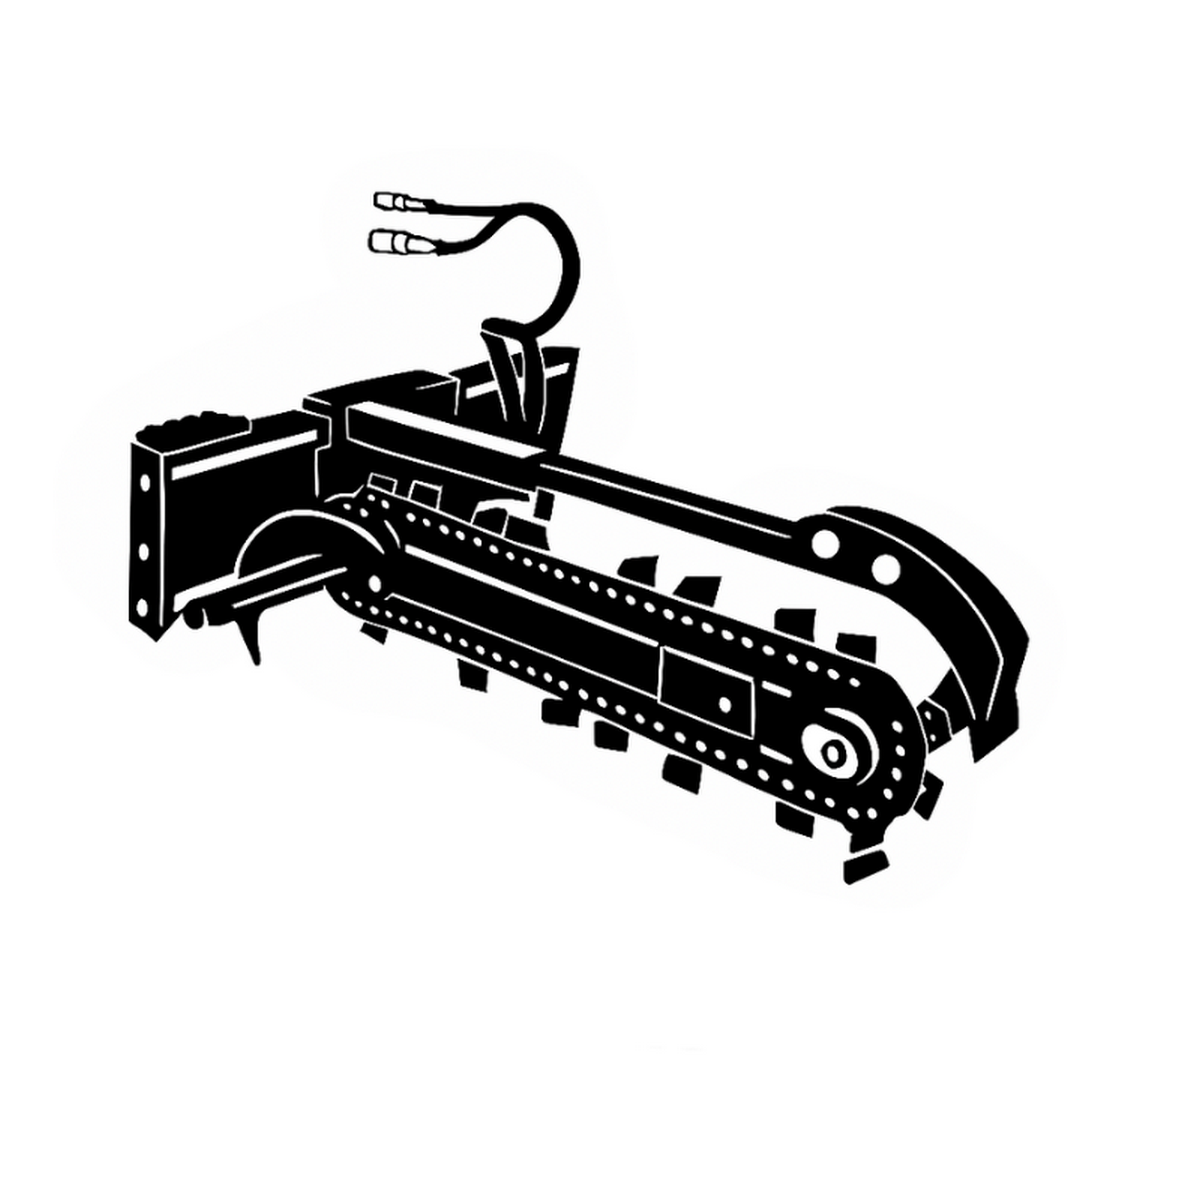 Chain trenchers
 Mixing buckets for excavators
 Flail mowers
Winter doesn't ask for a plan, it checks your preparation. Fitting a plough to your car can make life on a driveway, car park or yard a lot easier, but only if you've got the basics covered - whether the car can carry the attachment, whether the mounting is secure and the lights and sign remain visible. Below you get specific tips - technically, legally and practically - to make the plough work, not generate amendments and stress.
Fitting a plough to a car - can your car even 'handle' it?
Fitting a plough to a car can be done sensibly, but first you have to honestly check whether the car is made for it. The most important thing to start with is the gross vehicle weight rating, payload and what happens to the front of the car when the attachment is added. The plough is not just a 'piece of steel up front', but a real load that affects suspension, geometry, braking and even whether you can turn safely at all on slippery surfaces. If you're driving an SUV, it's often tempting to put something on "just in case", because after all, the car looks solid. And that's exactly what it looks like. What really counts in practice is whether you have a load-bearing frame (typical of pickups and many classic off-roaders) or a self-supporting design, where any mounting error can result in cracks, torn mounting points or permanent handling problems.
It is also worth looking at the subject from the 'logistics' side of mounting: what exactly is to hold the plough? The most common options are a faceplate, a dedicated mounting kit or a solution based on an approved attachment (e.g. reinforced points provided by the manufacturer or kits designed for a specific model). And here comes an important detail - a universal mount may sound tempting, but that doesn't at all mean it will fit your car without consequence. It's much more sensible to check that the plough or attachment manufacturer offers a model-specific kit, because then you'll usually have a better chance of correct load distribution and less 'fiddling' during installation.
How do you size a plough?
A plough that is too wide for the vehicle is asking for trouble - not only in work, but also when manoeuvring.Working width, weight, as well as whether the plough has a rubber strip and sensible adjustability are all important. If you plan on clearing snow from your pavement, car park, company access or estate road, a rubber strip and the right setting is not a "fad", but real protection for the surface and the equipment. It's also a good idea to think about how the plough will be lifted from the outset: whether hydraulics or a winch is involved, how you will route the lines and whether you have the conditions to secure it decently in the engine compartment. In practice, before you buy anything, make yourself a short checklist: plough weight, front load capacity, attachment points, space for hoses, power supply and whether the plough will obstruct key parts of the car. This saves nerves, money and - in fairness - a few winter disappointments.
|
Plough width |
Weight (kg) |
Recommended passenger cars/SUVs |
Recommended for off-road vehicles/pickups |
Application |
Comments |
|
1,8 m |
200-300 |
Compact SUVs (e.g. VW Tiguan) |
Small pickups (Ford Ranger) |
Domestic driveway, small car park |
Min. front load capacity 1 t; rubber striping compulsory |
|
2,1-2,2 m |
250-400 |
Medium SUV (Toyota RAV4 4x4) |
Standard pickups (Hilux) |
Company car park, 500 m² site |
Hydraulic / winch; 25-30° swing angle |
|
2,4-2,5 m |
400-500+ |
Large SUV with frame (Land Rover) |
Heavy-duty pickups (Ford F-150) |
Large yards, estate roads |
Reinforced frame required, replacement lighting; TDT test |
Legally fitting a plough to a car - approval, TDT, technical test and lights
If you want peace of mind, embrace the subject of legality before you hit the public road. It's all about making sure that the installation doesn't turn the car into an 'altered vehicle' that formally doesn't meet the technical conditions - safety, visibility, lighting, number plate and the general condition of the vehicle are key. Even when mechanically everything looks good, the problem arises when the plough obscures the lights or plate, or when the fitting is treated as a structural change, requiring documentation and often a technical examination after the changes. And there's no assuming that 'it's only for the property' - life quickly verifies this, as sometimes you need to drive up a piece of road, get in, get out or react to the weather immediately, in which case a lack of paperwork can end up with the registration certificate being withheld and additional costs incurred.
The second topic that can 'blow up' the whole installation is lighting and visibility. The plough easily obscures the dipped beam, turn signals and position lights, so you often need replacement lighting - extra lamps on brackets, positioned so that they are legible to others and mounted stably. The quality of the installation also matters: safety devices, cable routing in a conduit, sensible fixings and a supply of cable where the components work, as damp, salt and frost quickly verify makeshifts. Then there is the number plate - if it is obscured, you have a problem right away, so after installation, it is worth standing a few metres in front of the car and checking that everything is visible and does not "disappear" behind the fittings. Finally, an important point: the documents and inspection are not a penalty, they are a safeguard - if an incident occurs, an incorrectly fitted attachment can have more serious consequences than the fine itself, so treat legality as a safety feature for the whole season.
Step by step: fitting a plough to a car and an off-road vehicle
Firstly, grasp the basics, i.e. attachment selection, car compatibility and installation plan. Check that you have the correct mounting points and that the mounting kit is actually model-specific. If the components are bolted together, make sure you have the right screws, their grade and how they are secured - this is no place for random components "because they just happened to be on hand".
Only then should you assemble the faceplate or fastener so that the whole is rigid, with no play, and can carry the load without "pulling" the car structure in an unnatural way. This step is crucial, because if the base is weak, the rest of the assembly will never be really stable, even if everything looks aesthetically pleasing afterwards.
The next step is the installation: plumbing or a winch-based solution, plus electrics and lighting. Tidiness and precautions win out - run the wires so that they don't rub against sharp edges, hang loosely or work in areas where they are easily abraded. In the engine compartment, use peszel, sensible ties and leave a bit of slack where components can move.
If you're fitting extra lights, make sure they're firmly attached and work in all conditions. Moisture, salt and frost will quickly verify the 'temporaries', so the connection and fixing must be secure, not just 'running dry in the garage'.
It is advisable to plan the plough detachment theme from the outset: quick couplers, harness routing and access to connectors so that it can be done efficiently in winter, without tugging on the cables and without risking damage to the plugs. In practice, this is one of the most appreciated things after the season.
Then comes the blade adjustment. It's not just 'so it stands straight', but so it works evenly and doesn't damage the road surface. Check the alignment in relation to the ground, check the angle adjustment and, if there is a rubber strip, make sure it is in proper contact with the surface, without excessive pressure and without tearing. Do a test on a level stretch of driveway or yard - a few metres of pushing, stopping and a quick check that the plough doesn't leave uneven marks, that the car isn't pulling or rubbing anything. It's a test that often reveals things invisible 'at a standstill', especially if something is running minimally under load. Finally, do a 'pre-season' test, which can save the day when the first snow falls. Check all lights, board visibility, lift and lower response, no leaks, no play on the mounts and the car's turning behaviour. If you can, drive briefly in a safe place and listen for any disturbing sounds - these signals usually occur before the problem gets big.
Real-life example of fitting a snow plough with a hydraulic pivot
We present an example of what mounting a specific plough on a real car might look like - based on a 218 cm snow plough with hydraulic pivot from Techna Poland. It requires a reinforced front frame(e.g. a towing hook with a minimum load capacity of 1.5 t) and a hydraulic system connected to a 230V power unit or a winch. First fit a universal adaptor (compatible with pickups such as the Toyota Hilux or 4x4 SUVs), connect the hoses through the engine compartment's pessel, position the blade perpendicularly and test the swing (angle up to 30°). The whole process takes 2-4 hours with a professional (cost £1,000-2,000), after which have a technical check with an entry in the vehicle card - you will avoid fines for non-approval.
Is fitting a plough to a car a good idea?
Fitting a plough to your car can be a really good idea if you want convenience in winter and want to quickly clear your driveway, car park or access to your property. This solution saves a lot of time, but it only works well if you approach the subject sensibly and stick to the guidelines - especially those relating to fixing, lighting, visibility and the general safety of the car after fitting.
It can be done comfortably and without nerves, you just need good equipment, sensibly matched to the car, and a bit of knowledge about fitting and adjustment. If you're unsure, it's better to consult a professional about the choice of attachment or the fitting itself - often the easiest way to get the plough to work evenly and not have to go back for mid-season adjustments. If you're looking for a tried and tested solution, come to Techna Poland - you'll find quality excavator attach ments and all sorts of equipment that make field work really easy.
FAQ
Do I need to adjust the alignment or wheel alignment after plough installation?
This is often worth checking, as the extra front load and change in suspension action can affect handling. If the car starts to pull or the steering wheel "stands crooked" after installation, a geometry check is a quick way to solve the problem.
Does the plough affect fuel consumption and engine performance?
Yes, because there is an increase in rolling resistance and strain on the driveline, especially when operating in heavy snow. In normal driving (without plough work), the weight of the attachment and aerodynamics make the biggest difference.
How do I protect the plough and attachment from corrosion after the season?
After winter, wash the attachment thoroughly of salt, dry and check for paint chips or rust foci. It is good practice to maintain salt-exposed parts and store in a dry place rather than 'under a cloud'.
Is it possible to use a plough on paving stones without damaging them?
It can, but the settings and working elements are key - especially the rubber strip and the correct working height. If the plough is set too low or has a worn blade, it is easy to get scratches and chipping on the pavement.
How often do I need to check bolts and connections after installation?
Most play comes out at the beginning, so after the first few hours of operation it is worth doing a quick check and tightening the connections as recommended. After that, a regular check during the season is sufficient, especially after hitting a snowdrift or kerb harder.
Can you plough snow backwards, reversing?
You can, but carefully and for short distances, as the attachments and fixtures are not always designed for such loads. If you often have to "pull" the snow by reversing, it is better to plan your work so as to minimise such manoeuvres.