 Shears, demolition jaws for excavators
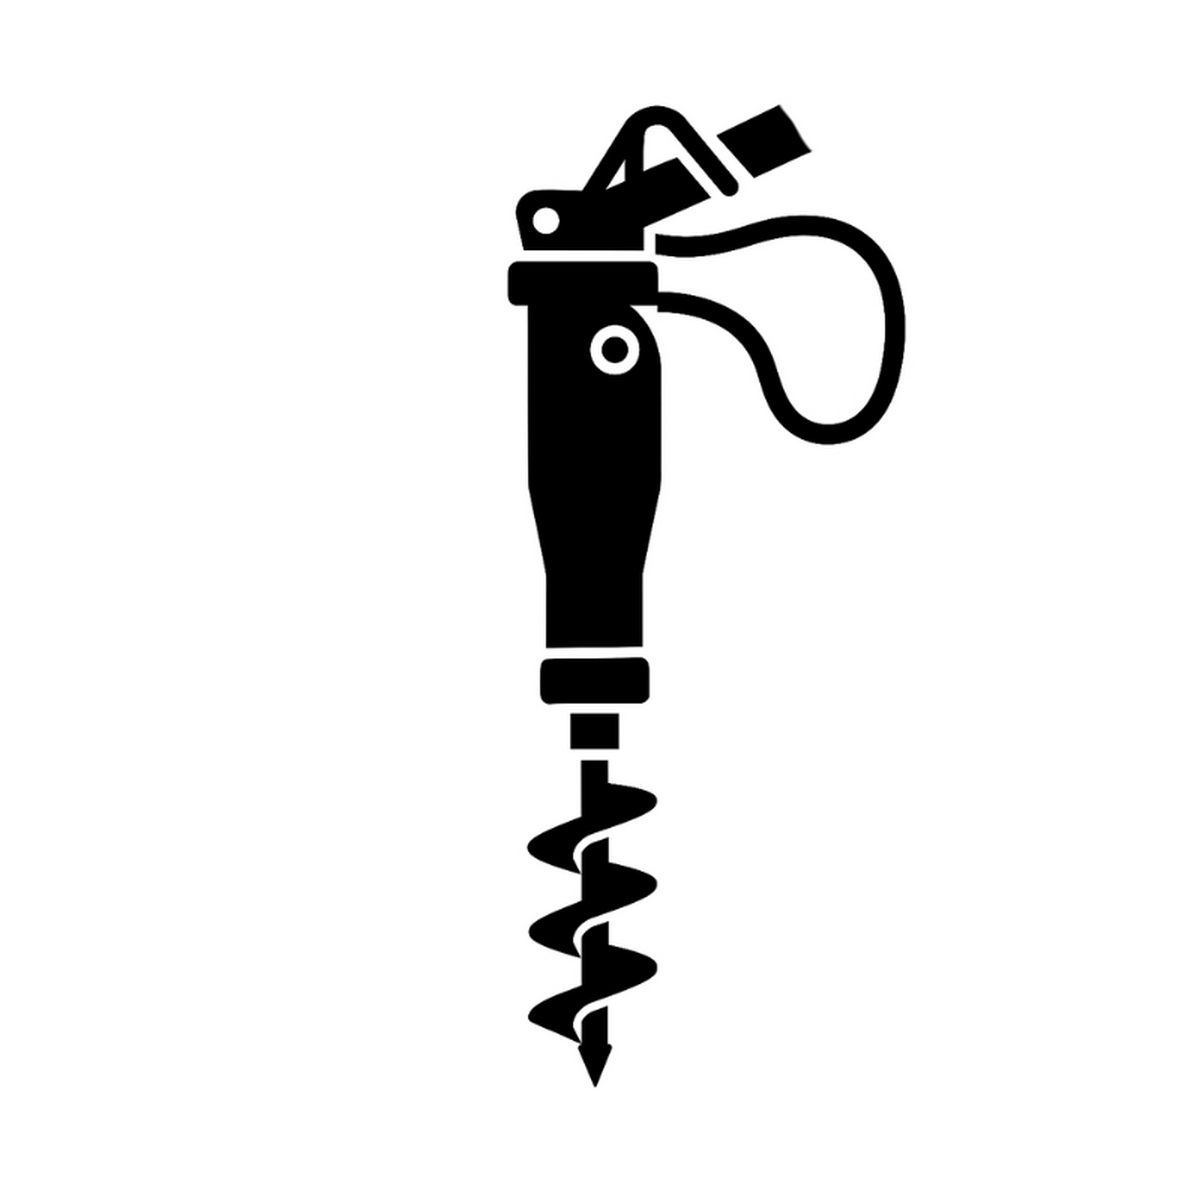 Hydraulic drill rigs
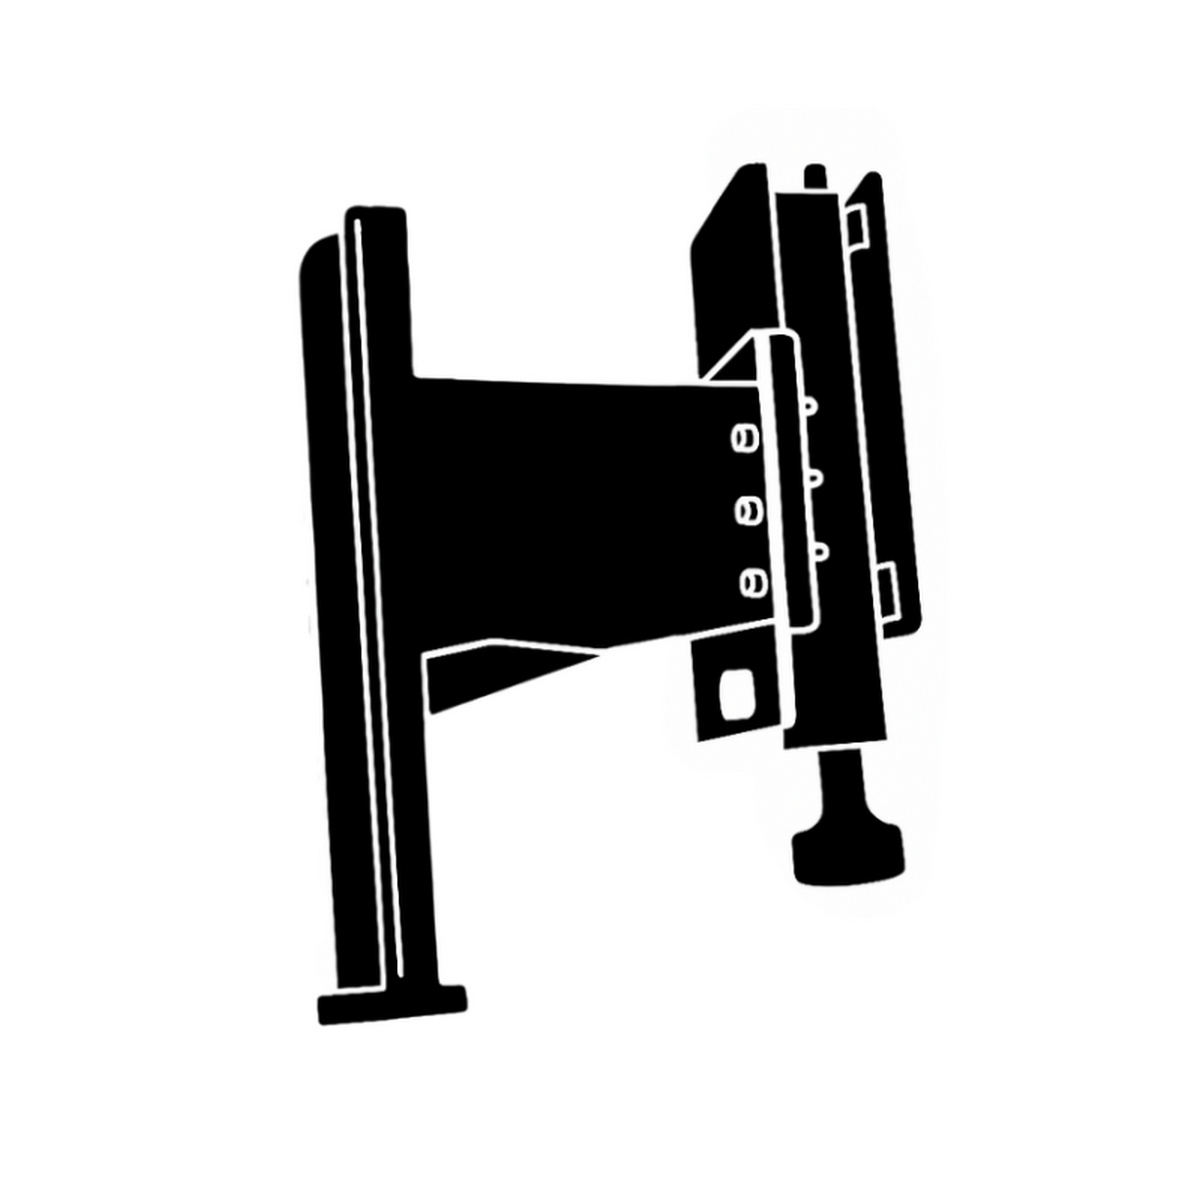 Hydraulic pile drivers for excavators
 Screening buckets for excavators
 Hydraulic grapples for excavators
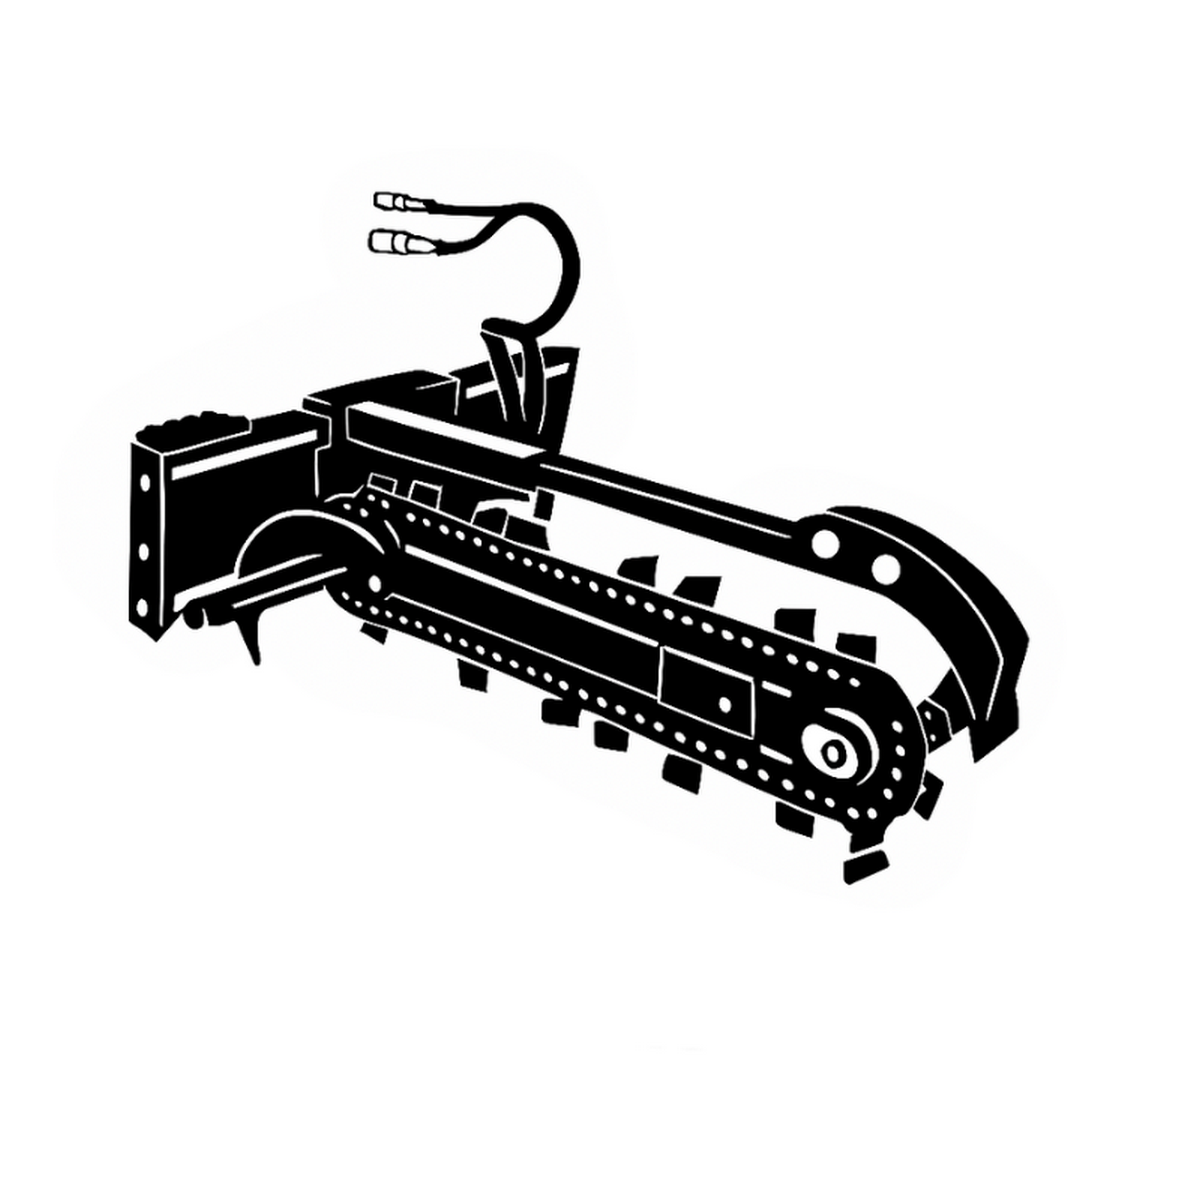 Chain trenchers
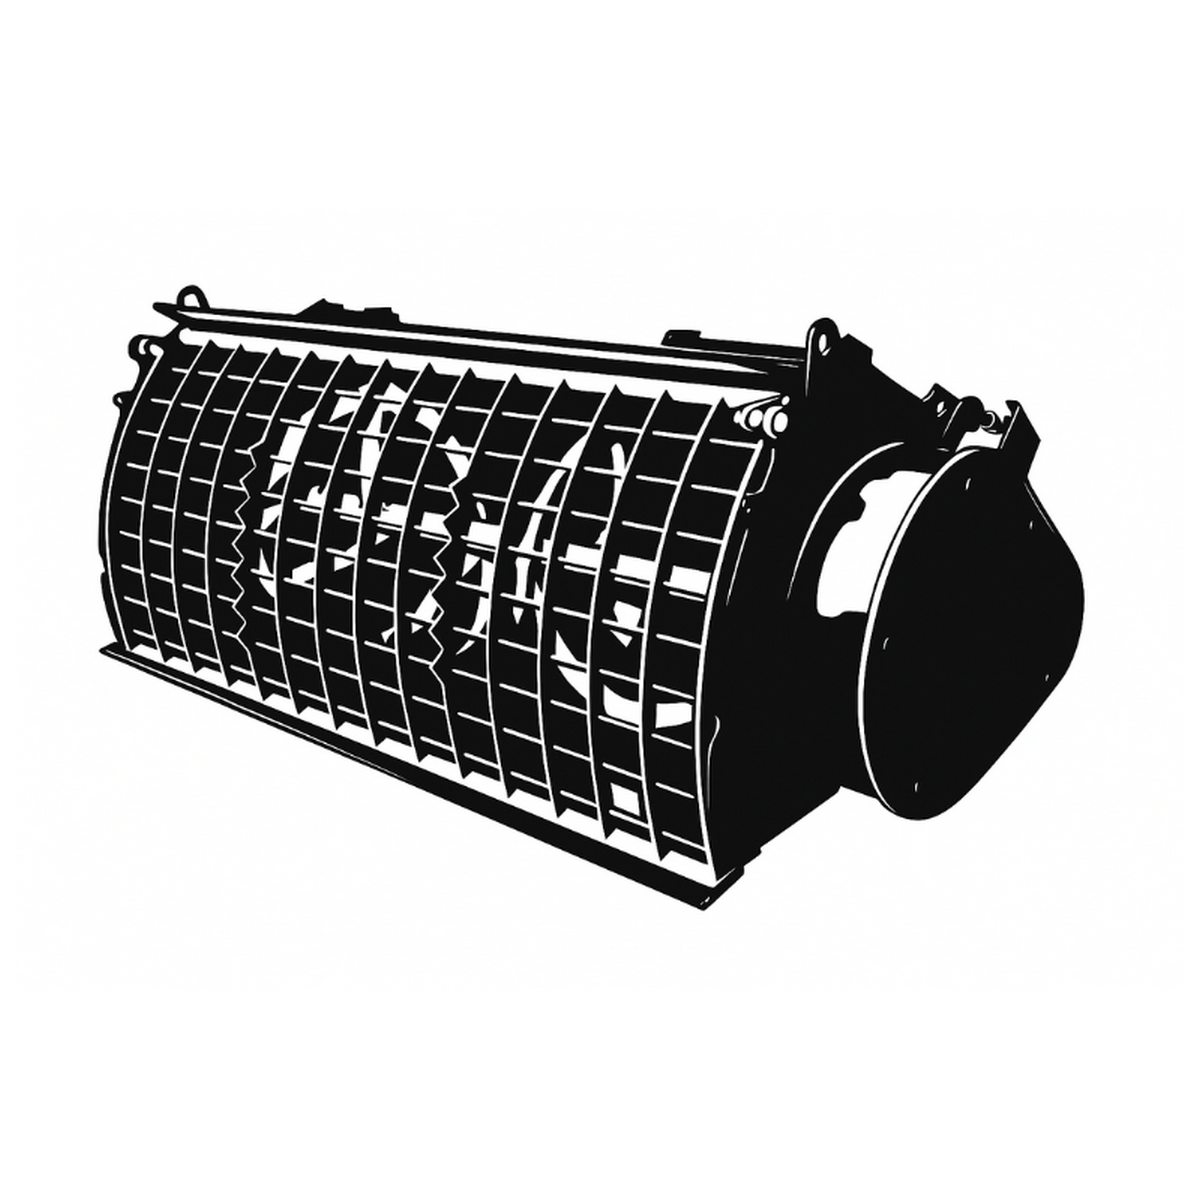 Mixing buckets for excavators
 Flail mowers
On the surface, everything looks simple - a few parts, a little welding and a mini-excavator drill rig ready to go. In practice, questions quickly arise that can bring the whole project to a halt: whether the plumbing can handle it, how much it really costs and whether DIY actually pays off. If you've ever wondered whether to make a drill rig for a mini-excavator or whether it's better to buy a ready-made attachment, this resource is for you. No theory detached from life - just numbers, market experience and concrete conclusions to help you make a good decision.
How to make a drill rig for a mini-excavator step by step - what you really need to buy and what you better not save on
If you're wondering how to make a drill rig for a mini-excavator, the first thing worth making clear to yourself is that this project doesn't start with a welder, but with checking the parameters of the machine. The oil flow, the pressure in the system and the real torque you are able to achieve will determine whether the whole thing runs smoothly or you end up frustrated after the first hole. Mini-excavators in the 1.5-3t range typically offer 25-50 l/min and around 240 bar, which is sufficient in theory, but only if you choose the right hydraulic motor. The 400-500 cm³/rev units that allow you to get reasonable torque without combining with gears are the most common. There is no need to economise here - cheap, unfamiliar motors can "die" faster than you can warm them up properly, as is regularly reported in forums and YouTube videos.
The second key element is the frame and attachment for the excavator arm, which must be made exactly for your machine model. Off-the-shelf adaptors rarely fit perfectly, so you usually end up welding the structure to size. This is no place for thin steel or makeshift - torsion , runout and vibration transmission quickly come out in harder ground. Then there is the drive shaft, with a diameter of around 50 mm, and thrust bearings to take up the axial loads. Only at the end comes the drill bit, usually 100-450 mm, selected for the specific application. The assembly itself, if everything is prepared, takes little time - 10-15 minutes of hooking up to the hydraulics, with no additional motors or valve combinations. The key, however, is the initial testing on light ground, because this is when mistakes come out that could later end in a costly failure.
"I did it myself and... things were different" - the true costs of building a DIY rig (with time, adjustments and nerves)
In theory, DIY always looks attractive - parts bought separately, a little bit of your own work and the saving is done. In practice, when you count the real costs of building a drill rig, the picture starts to change. The hydraulic motor alone is a £1,000-3,000 expense, depending on the manufacturer and parameters. The frame and mounting take up another £800-2000, and if you're not welding yourself, you need to add £500-1000 for locksmith services. Then there's the drill and shaft, often £500-2000, and all the plumbing: hoses, quick couplings, valves, bearings, which can add another £300-1000. As a result, the total cost of DIY very often closes in the range of PLN 3500-8000, and that still without valuing your own time.
And time in this case has a real value. 20-40 hours of fitting, tweaking and testing is standard, not a pessimistic scenario. Then there are the little things that come up 'along the way': a mismatched hose, a leak, too little torque in harder clay. Then frustration sets in as you improve the design instead of drilling. DIY drilling is mainly worthwhile if you treat it as a hobby project rather than a tool for your daily work. When you add up the cost per hour of drilling, taking into account wear and tear and service, the saving often turns out to be less than you assumed at the start.
DIY vs ready-made drill rig - table, figures and the point at which self-build stops being worthwhile
The comparison between DIY and off-the-shelf rigs is best based on numbers, without emotion or marketing. New hydraulic drill rigs for 1-4 t mini excavators are available today at prices of £3300-7800, often already with a drill bit. Models offering 2000-3000 Nm of torque can calmly handle 100-600 mm holes, and their biggest advantage is predictability. You buy the equipment, plug it into the machine and 15 minutes later you are ready to work. Then there's the warranty, often as long as five years on the gearbox, which makes all the difference when it comes to heavy use. On the second-hand market, on OLX or Allegro, you can find used units from as little as £1,600, often in very decent condition.
Proprietary construction starts to lose out when the equipment is supposed to make money for itself. If you're counting ROI, or return on investment, then with regular work 50-100 hours is enough for a ready-made rig to pay for itself compared to renting, which costs £100-150 per hour. With DIY, you don't have this certainty - failure of a hydraulic drill rig during a job means downtime and extra costs. That's why many people who have tested both solutions sum it up in one sentence: it's possible to build, but the original wins with stability and time. A custom build only makes sense if you know exactly what conditions it will work in and do not plan for intensive use.
|
Aspect |
DIY (build your own) |
Ready-made (new/used) |
Advantage for whom? |
|
Total initial cost |
£3500-8000 (motor £1000-3000 + frame £800-2000 + drill bit £500-2000) |
New: £3300-7800; Used: £1600-5000 |
Ready (lower entry threshold for used) |
|
Preparation/assembly time |
20-40 h work + 10-15 min assembly (welding, testing) |
10-15 min assembly (ready-made adapters) |
Ready-made (time-saving) |
|
Warranty and durability |
None (risk of failure in clay/stone after 50-100 h) |
2-5 years (gearbox, motor tested) |
Ready (professionals) |
|
ROI (at 50-100 h/year) |
12-18 months (but + service £500-1000/year) |
6-12 months (vs. rental of 100-150 zł/h) |
Ready (faster turnaround) |
|
Risk |
High (leaks, hydraulic mismatch 25-50 l/min) |
Low (certifications, compatibility with mini excavators) |
DIY only for hobbyists |
|
Cost per hour (after 500 h) |
7-16 zł/h (+ adjustments) |
3-10 zł/h (including service) |
Ready-made (long-term cheaper) |
*the table shows approximate values
For whom does it make sense to do the drill rig yourself, and who will lose time and money?
DIY for a drill rig is neither a bad nor a good choice in itself - it all depends on how often and what you intend to use it for. If you drill occasionally, do a dozen or so holes a year, have a workshop facility and are looking at the project as a way to cut costs, a self-built rig may be fine. In such a scenario, you accept the lack of a guarantee, reckon with corrections and know that you have to tread more carefully in difficult ground. For farmers, gardeners or owners of a single mini excavator, this is often enough, provided you take a conscious approach.
However, if you need your equipment to work regularly, in a variety of conditions and without surprises, buying a ready-made hydraulic drill is simply safer. You gain time, reliability and predictable costs, and with a lease of £500-1000 per month, the investment pays for itself quickly. Therefore, the honest verdict is simple: DIY is the option for hobbyists and those with a technical background, while ready-made attachments are for those who treat a mini excavator as a working tool rather than a field for experimentation. If the drill rig is to make a real living for itself, it is worth checking out the available market solutions before deciding to build from scratch.
If you want your equipment to work stably for years, handle hard ground, clay or intensive jobs and not generate downtime at the least opportune moment, choosing proven excavator attachments is crucial. Off-the-shelf solutions for excavators, based on verified components and tested in real working conditions, offer a predictability that is difficult to expect from DIY construction. In Techna Poland's range of hydraulic drill rigs, designed for long life, high torque and quick installation. It's a solution for those who want to focus on the job at hand, rather than fixing and repairing equipment.