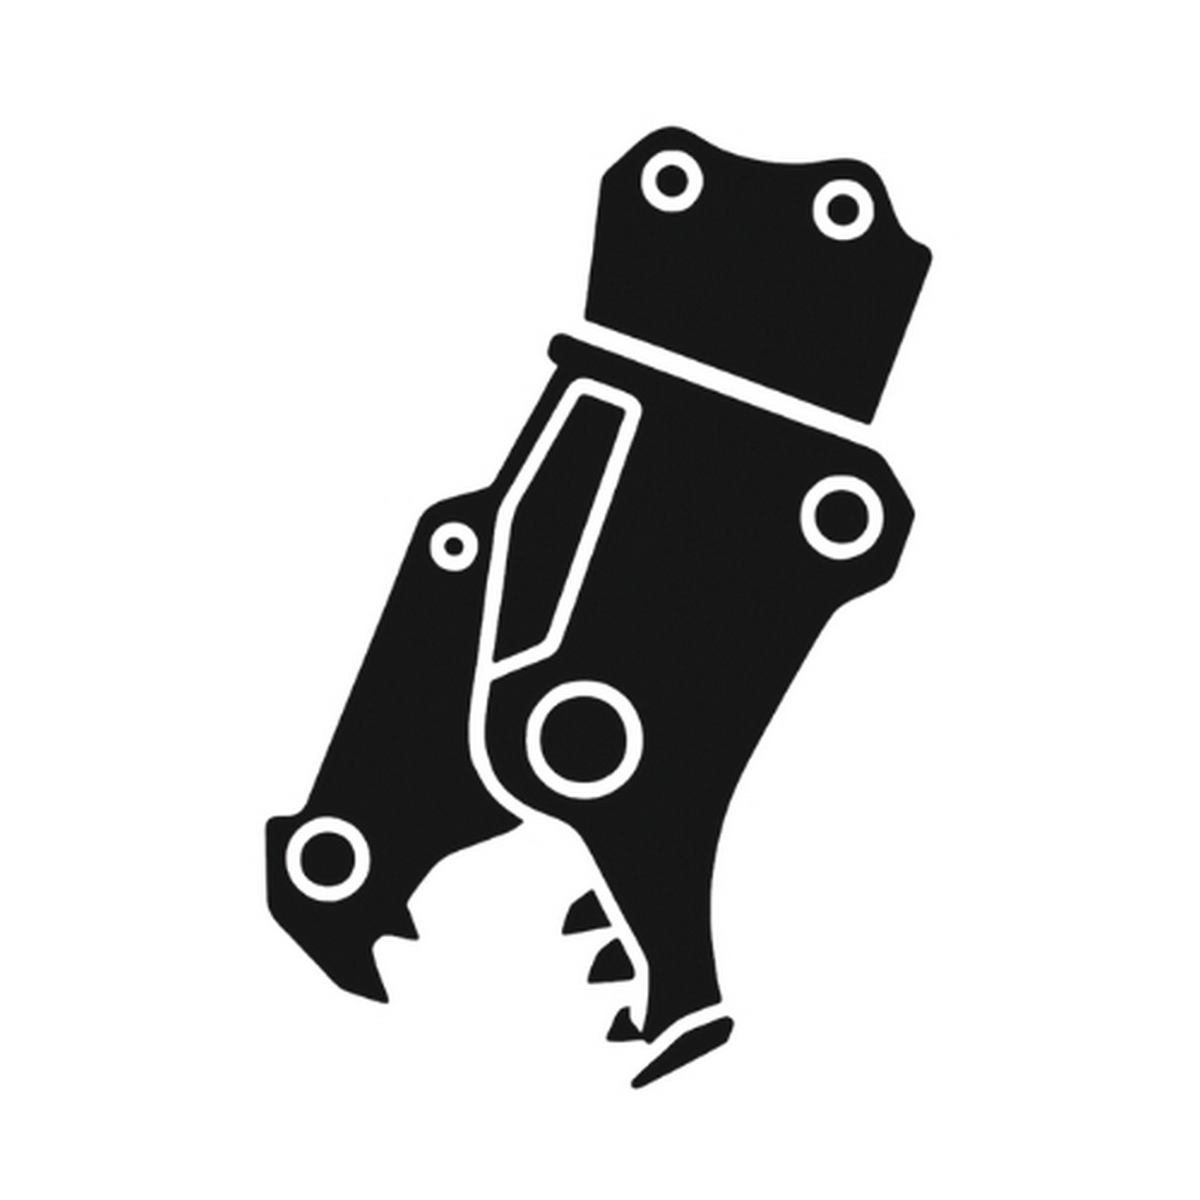
 Shears, demolition jaws for excavators
 Hydraulic drill rigs
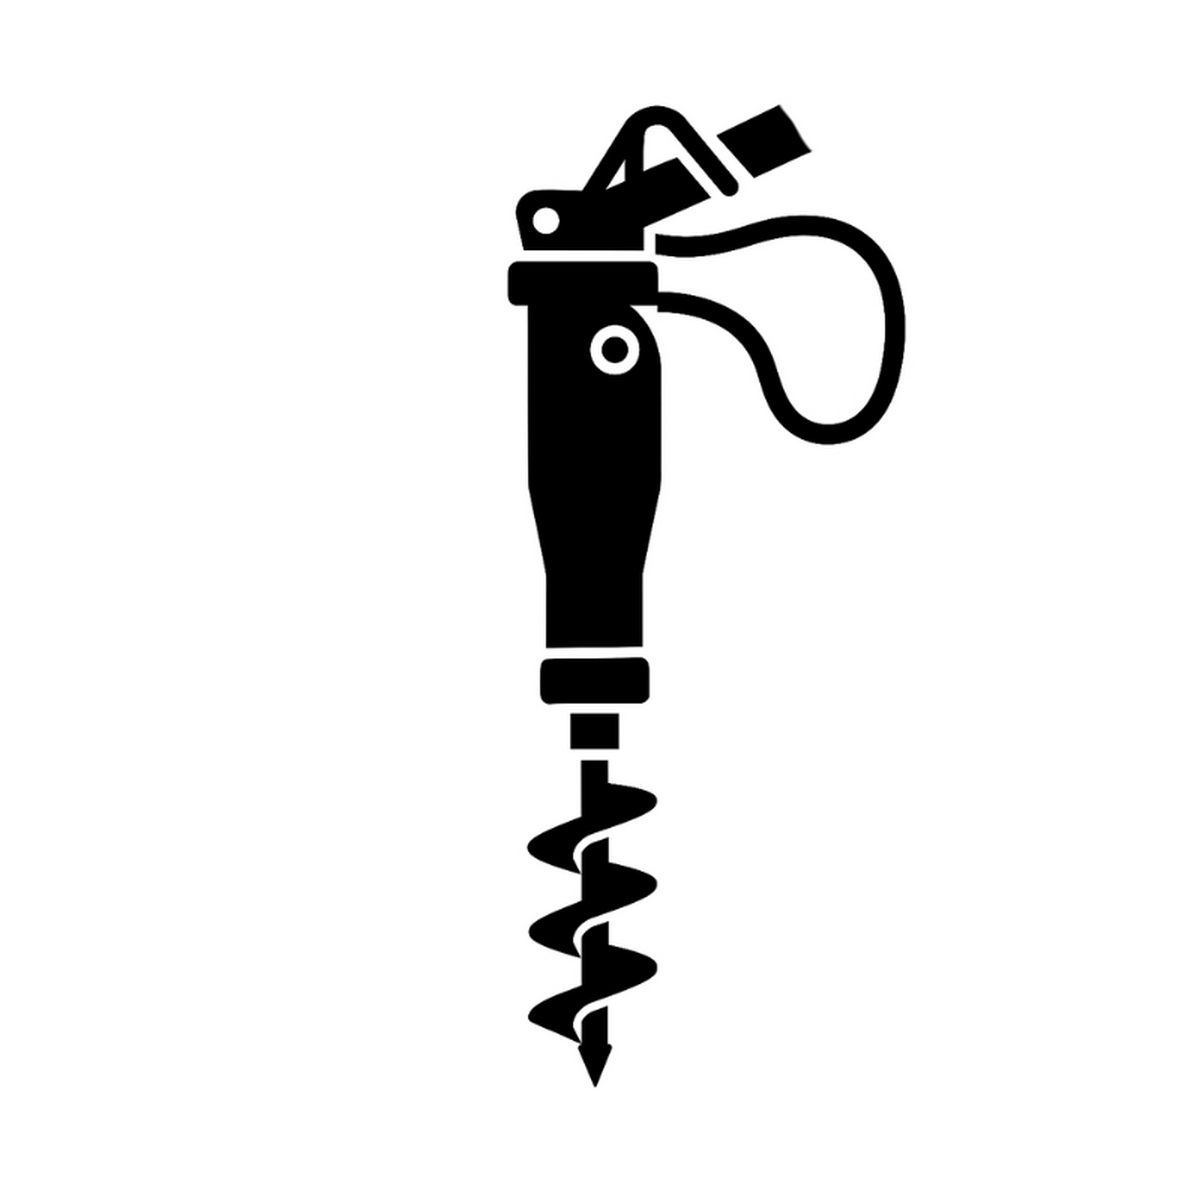
 Hydraulic pile drivers for excavators
 Screening buckets for excavators
 Hydraulic grapples for excavators
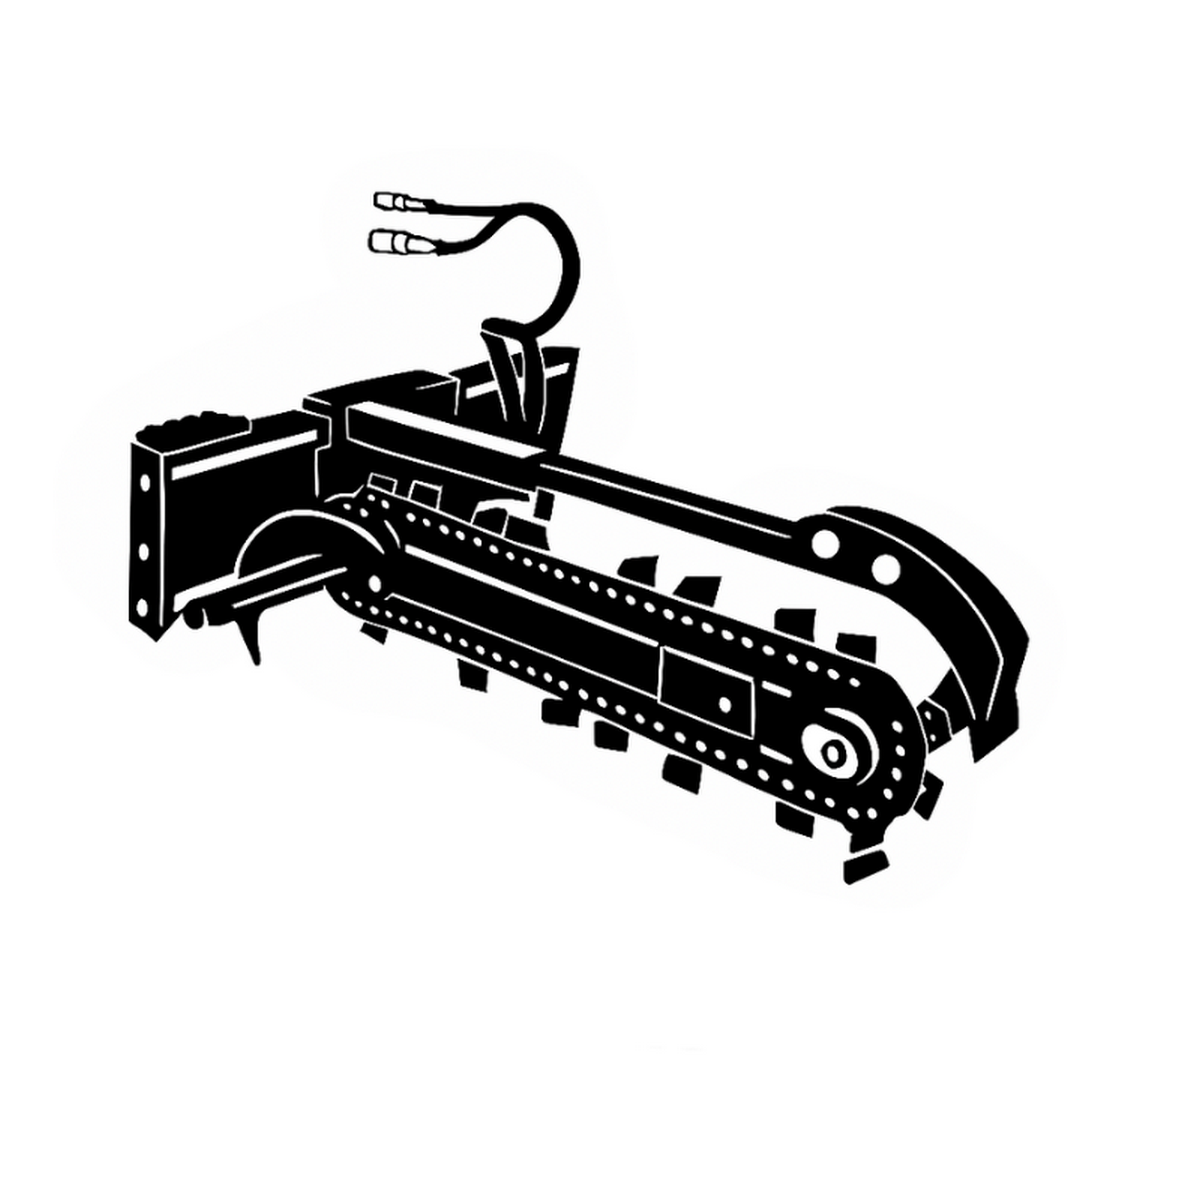 Chain trenchers
 Mixing buckets for excavators
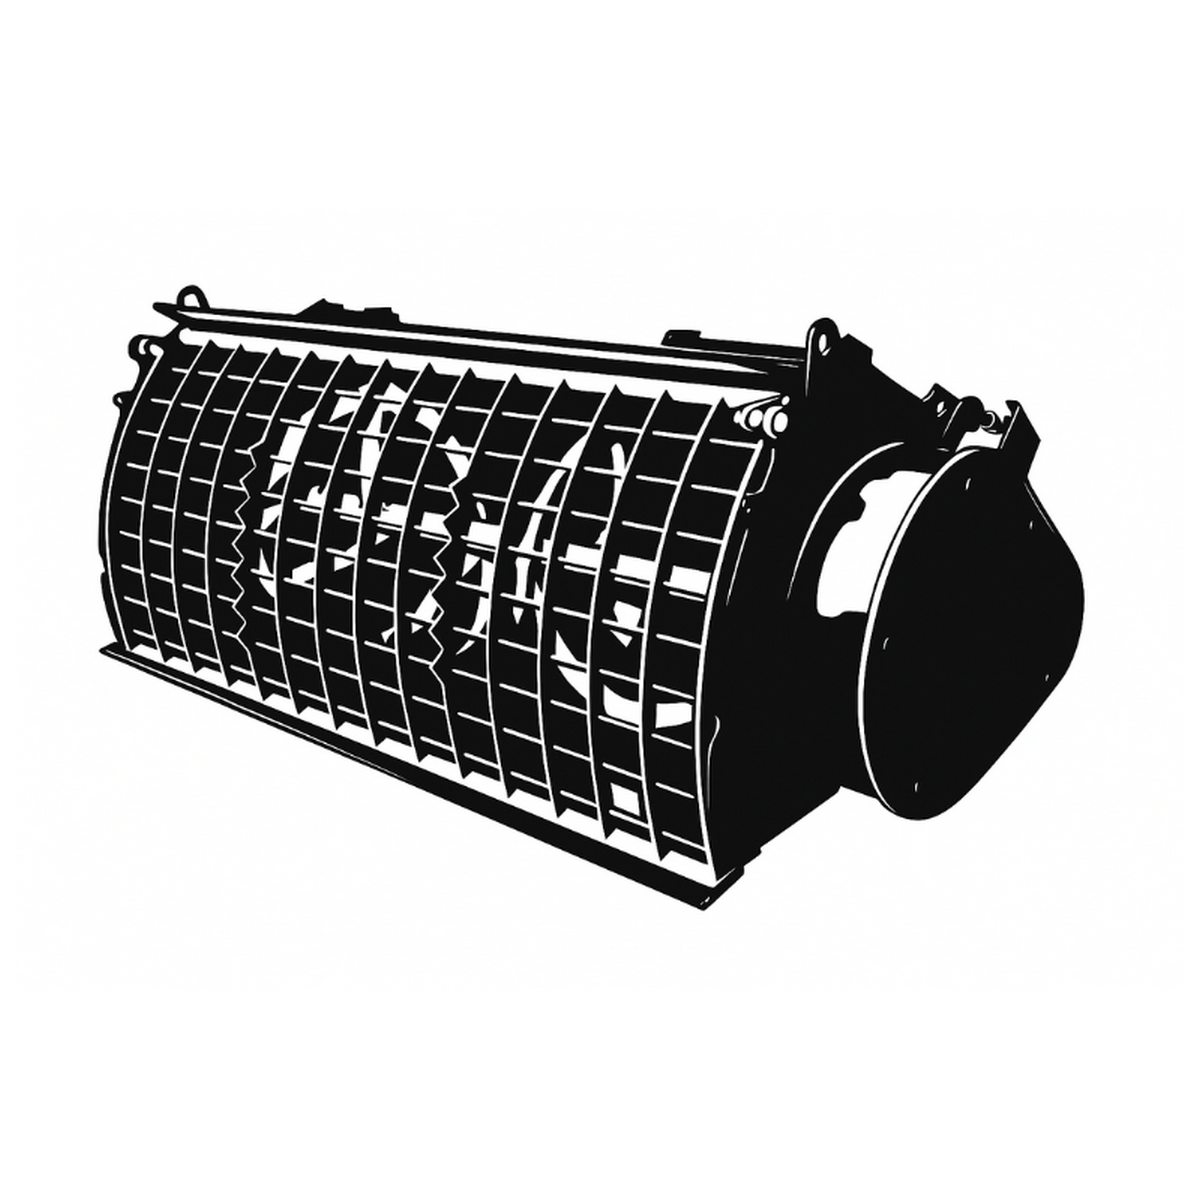
 Flail mowers
Assembling a snow plough for a quad is one of those topics that at first glance seems simple, but in practice can take you by surprise. A few mis-matched components, haste or skipping one step and instead of smooth snow removal, you get slack, vibrations or problems with the quad's handling. That's why it's worth taking a moment for calm preparation and well-planned installation before you head out into the snow. Below you will find practical tips to help you mount your quad plough thoughtfully, without improvisation and with a view to safe, comfortable operation all winter long.
How to mount a quad plough without nerves and improvisation - step-by-step equipment preparation
Before the subject of screws, plates or frames even comes up, the most important thing is to prepare the quad and the work area. This is a stage that many people underestimate and then are surprised that something doesn't fit, access to the frame is missing or the assembly takes twice as long as it should. The quad should be standing on level, stable ground, with the engine switched off and the ignition secured. It's also a good idea to make sure you have unobstructed access to the front and underside of the vehicle - if you have the ability to raise the quad on a stand or gently tilt it to the side, the work will simply become more comfortable. At this stage, it's also a good idea to remove any guards that may get in the way, and to inspect the frame carefully - especially the areas where the manufacturer has provided factory mounting holes.
Equally important is to prepare your tools and mounting components. Put everything side by side before you start: spanners and socket spanners, bolts, clips, lock nuts, manufacturer's instructions. Even if fitting a quad plough seems straightforward, the absence of a single bolt can effectively throw you off your rhythm. This is also a good time to read the quad plough assembly instructions from start to finish, without skimping or 'skipping' steps. It's not about blindly following the paper, but understanding the logic behind the whole system. That way, you know from the start where the plate will be, where the arm will be and where the blade will be, and you don't have to correct everything after the fact.
See also: Which quad plough will work best for snow clearing?
Attaching a plough to a quad in practice - mounting plate, Click & Go or dedicated frame?
Choosing a system is where it really pays to stop. Attaching a plough to a quad is not universal in practice, even if the manufacturer assures you that it 'fits everything'. You'll most often encounter mounting plates bolted to the underside of the frame, Click & Go systems and frames dedicated to specific models. Each solution has its pros, but also its limitations. The mounting plate is a sensible and popular option - it stays on the quad permanently, does not lower ground clearance and often acts as an additional cover. However, it requires precise tightening, as it carries most of the load during plough work.
The Click & Go system tempts with its speed of assembly and disassembly, but it is worth remembering that speed does not always mean versatility. On some quads this solution works great, on others it may require minor adjustments or additional stiffening. Dedicated frames, on the other hand, are an option for those who want maximum stability and a perfect fit. If you ride a Can-Am or CF Moto, for example, such a frame often eliminates play, creaking and uneven blade action. In practice, a good quad plough fitting starts precisely with an informed choice of system - matched not only to the model, but also to how often and in what conditions you will be clearing snow.
|
Quad model |
Width of quad (approximate) |
Recommended plough (blade width) |
Blade height |
Weight of plough |
Mounting system |
|
Can-Am Outlander G2 |
122-130 cm |
150 cm |
43 cm |
45 kg |
Dedicated plate/Click |
|
CF Moto 800/850 |
120 cm |
150 cm |
43-45 cm |
40-45 kg |
Universal/Click |
|
Yamaha Grizzly 350/700 |
115-122 cm |
150 cm |
45 cm |
40 kg |
Bottom bracket |
|
Polaris Sportsman 570 |
122 cm |
132-150 cm |
43 cm |
45 kg |
Cables/plates |
|
Linhai 550L |
120 cm |
150 cm |
43 cm |
45 kg |
Universal frame |
|
Segway Villain AT6 L |
125 cm |
150 cm |
43 cm |
45 kg |
Click & Go |
Installation instructions for the quad plough from the underside of the frame - exact steps, screws and settings
Once you have the system selected, it's time for the actual assembly. Here, it is crucial to work calmly step by step, without trying to shortcut the process. The plate or frame is usually mounted to the front of the quad frame, using either the factory holes or the clips covering the structure. It is very important that the bolts are tightened evenly and not 'on the hoof' on one side. This ensures that the plate sits evenly and does not work while riding. It is a good idea to use self-tightening nuts, as the vibrations during snow removal are much greater than they appear at a standstill.
The next stage is the installation of the pivot and plough arm. These are the components responsible for smooth operation, so they should not be mounted 'rigidly'. The manufacturer usually stipulates a minimum working play, which allows the plough to work naturally on uneven ground. Only at the end comes the fitting of the blade, shock absorbing springs and scraper rubber. At this point, the assembly instructions for the quad plough should just confirm what you see in front of you. If everything fits together and the parts move without resistance, you can be sure that the structure has been assembled correctly.
A good reference point might be the 218 cm wide snow plough with hydraulic pivot, which shows what a solid and well thought-out attachment should look like. In the quad version, the mounting is based on a stable connection between the plough frame and the mounting plate of the quad, so that the entire structure carries the load evenly, without play or jerking during operation. A precise fit of the mounting to the vehicle frame and the correct connection of the hydraulics or cylinder, if the plough is angle-adjustable, are crucial here. This ensures that the plough runs smoothly and that the quad remains stable even when intensively clearing snow from larger areas.
Check also: Building a snow plough that works for winter on the road and the allotment - find out all the technical aspects
How do I fit a 150 cm quad snow plough and set it up for terrain, kerbs and unevenness?
A wide plough blade, such as 150 cm, gives great comfort, but only if it is set up correctly. The mere fact that you already know how to fit a plough to a quad is only half the battle. The other half is adjusting the angle of attack, inclination and shock absorption. Most ploughs offer 4 or 5 turning positions that allow you to push the snow in the direction you want. It's worth taking a moment to check each one and see how the plough behaves when raised and lowered. The wrong angle can cause the blade to bounce or uneven snow collection.
No less important are the safety springs. Their function is to protect both the plough and the quad when hitting an obstacle - kerb, manhole or icy hump. The springs should be tensioned evenly, without excessive stiff resistance. Finally, it is a good idea to perform a test without snow: several manoeuvres, raising, lowering, turning. Only then are you sure that the plough attachment to the quad is not only correct, but also ready for real work in winter conditions. If, after the test, nothing rattles, rubs or "pulls" the quad to one side, you can safely wait for the first precipitation.
Finally, it's worth remembering that a well-executed fitting is one thing, but equally important is the quality of the actual accessory you use every day. If you are looking for reliability, durability and solutions tailored to real working conditions, Techna Poland's offer is a direction you should definitely check out. We supply attachments for excavators and work machines, as well as specialised equipment designed for a wide range of tasks - from snow clearing and cleaning to intensive construction and municipal applications. These are solutions created with longevity, robust construction and quality workmanship in mind, which make a real difference to your comfort and safety. If you're looking for equipment that simply gets the job done without compromise, Techna Poland is the brand to bet on.
FAQ
Can the installation of a quad plough be done by myself, without experience?
Yes, in most cases fitting a quad plough can be done by yourself if you have the basic tools and time to work quietly. The key is to read the manufacturer's instructions carefully and avoid taking shortcuts.
Do I need to remove the mounting plate after the winter season?
It is not necessary - the mounting plate can remain on the quad all year round. It often has an additional protective function for the frame and does not adversely affect ground clearance or handling.
Is every quad suitable for snow plough mounting?
Most utility quads will cope with a plough, but the weight of the vehicle, drivetrain and frame design matter. It is always a good idea to check the manufacturer's compatibility recommendations before purchasing.
How often should bolts and connections be checked after assembly?
The first check is best done after a few hours of use and then regularly throughout the season. Vibrations and loads can cause connections to loosen, even if everything was initially tightened well.
Does the quad plough require additional load on the vehicle?
In many cases, an additional load on the rear axle improves traction and stability when clearing snow. It is not mandatory, but in heavy or wet snow it can make the job significantly easier.
Can a quad with a plough fitted be driven on public roads?
This depends on local regulations and vehicle configuration. In practice, the plough should only be used on private land or where you have express permission to do so.